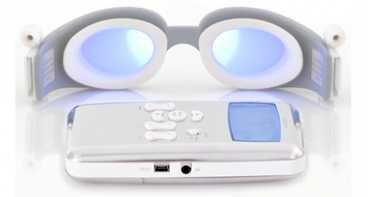
Building upon my passive Ganzfeld goggles, I decided to build a set of Ganzfeld-style lightframes for photic brain stimulation. I was inspired by the goggles which come with the very expensive Laxman mind machine:
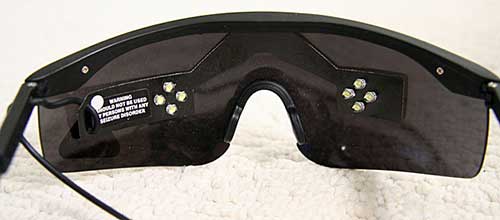
Typical lightframes which come with audio-visual stimulation (AVS) mind machines use point source LEDs, such as this pair which came with my MindPlace Sirius mind machine:
I covered the basics of how to construct such goggles in a previous article: Build an Audio Player Based Mind Machine Part 1: Photic Goggles
Even the RGB “ganzframes” which come with the MindPlace Procyon mind machine are rather feeble, consisting of point source SMT LEDs, covered by a simple roughened square of translucent plastic… the effect is only mildly diffuse, and still looks like a cluster of point sources. Inspired by Michael Rule’s hallucinogenic goggles project, I modified his goggles design to my tastes, and built a monochrome replacement for my Sirius lightframes.
Parts for this project:
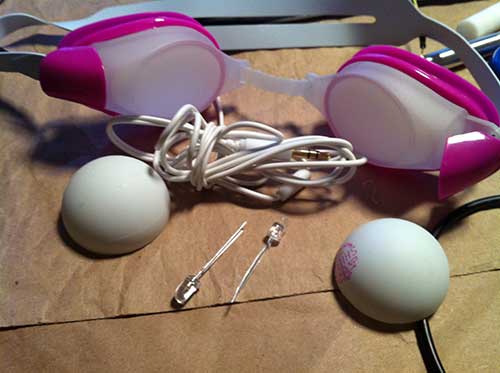
BOM
- wiring harness from cheap headphones (a pair of earbuds from your local 99 cent store are a good donor)
- 2 LEDs – I chose white LEDs
- a ping-pong ball – I already sliced it in half in the photo. Using the seam as a guide, cut it in half with a very sharp x-acto knife
- passive ganzfeld goggles prepared as described in my previous article: Relax Your Mind: Build Your Own Ganzfeld Goggles
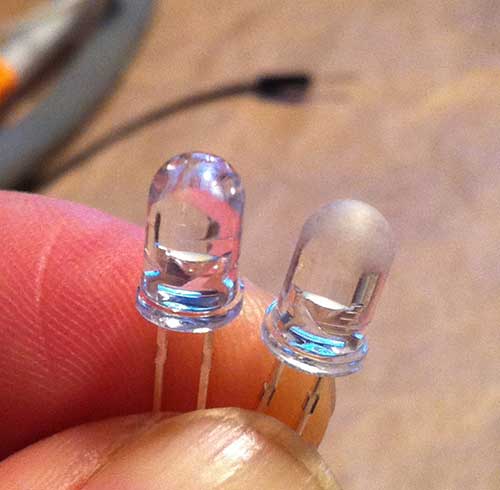
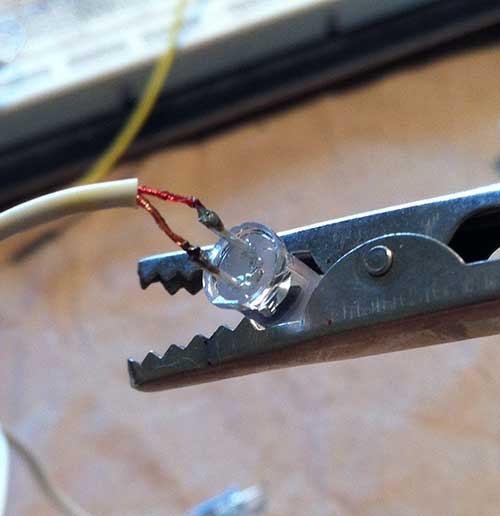
If you your LEDs are of the clear point-source variety, it’s a good idea to scuff them up a bit with to make them more diffuse. You don’t have to do the whole LED. Rubbing the tip with sandpaper will suffice:
Trim the LED leads, and solder them to the headphone wires:
The polarity of the wiring depends on the requirements of your particular mind machine. My Sirius mind machine uses common-anode wiring (also known as CP or common-power), so the anodes connect to ground, and the cathodes go to the right and left channel signal leads. If your mind machine requires common-cathode wiring (aka CG/common-ground), then you should connect the cathodes to ground, and the anodes to the left and right signals.
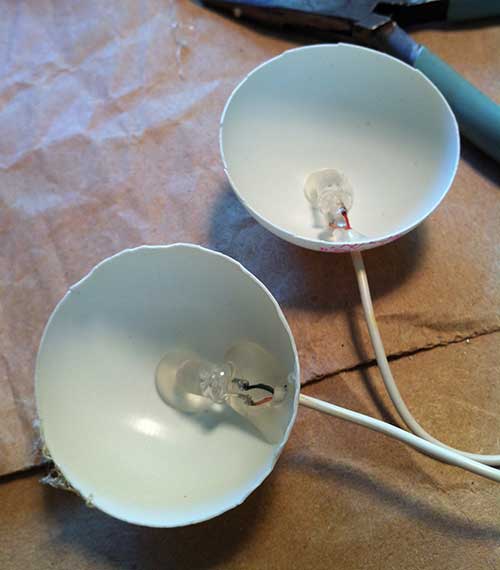
After soldering the LEDs, drill a small hole in the side of each ping-pong ball half (I actually just twirled the tip of my x-acto knife, rather than using a drill bit), and then tack them to the balls with hot melt glue. The blob of glue that holds the tip of the LED to the ball actually helps to diffuse the light a bit more. Notice that the LED’s are pointed toward the ball instead of away from it, so that you instead of shining the LED beam into your eyes, it bounces off the ball.
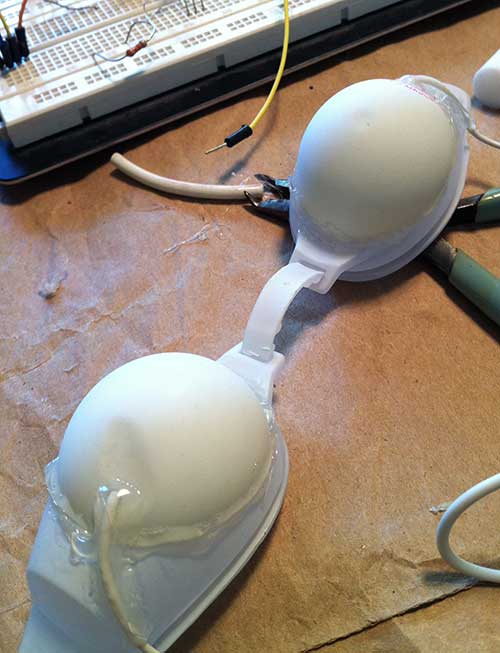
Next, carefully glue the ping-pong ball halves to the front of the goggles. Tack one side of the ball, wait for it to harden, and work your way around it a section at a time, while bending it to conform to the shape of the goggles. Be careful of overheating when applying hot glue to the ping-pong balls. My glue gun was a bit hot, and the heat warped them a bit. Notice the flattened parts of the balls below:
Here are the completed goggles:
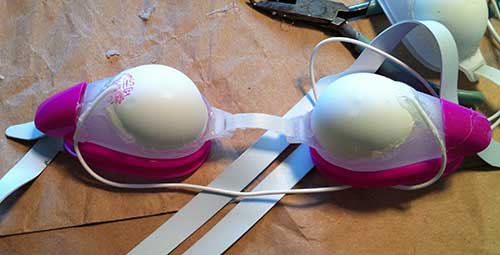
They work fabulously … much better than conventional point-source lightframes, and an added bonus is that they can be used with eyes open.
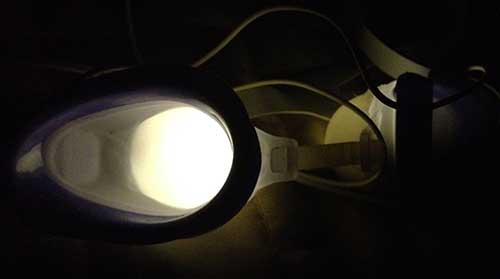
Plus, they look really cool & trippy: 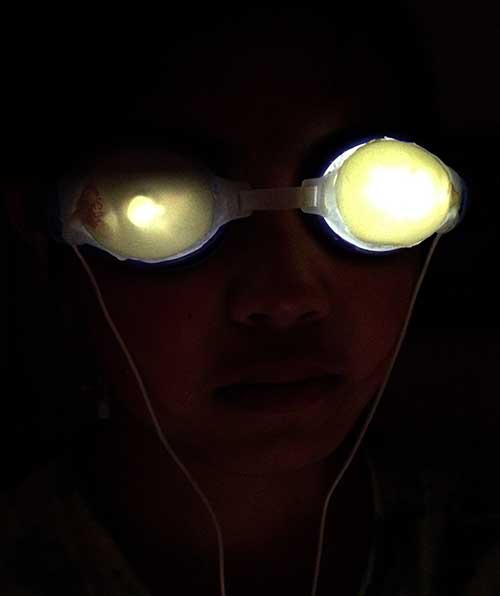
Here is a preview of my hallucination machine. It’s a standalone Arduino-based mind machine, which is my remix Michael Rule’s Hallucinogenic goggles. The goggles are of identical design, but use RGB LEDs rather than a single color. I will document the build in a future article.

Related Post: Relax Your Mind: Build Your Own Ganzfeld Goggles