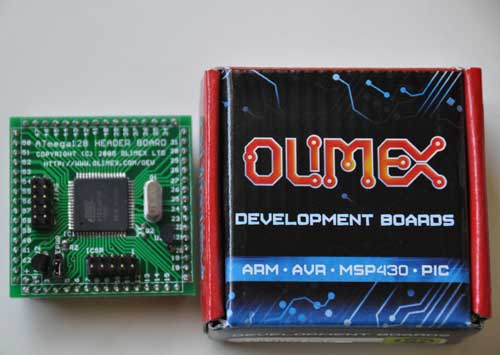
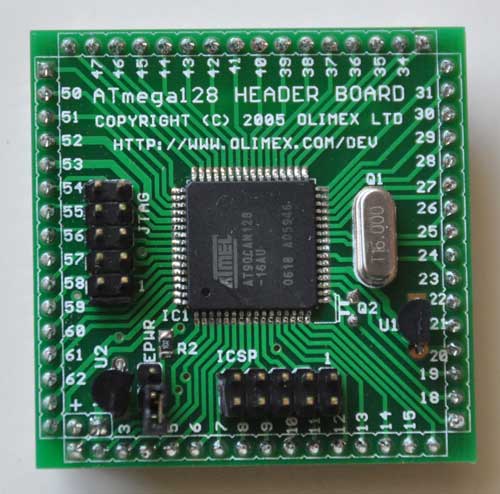
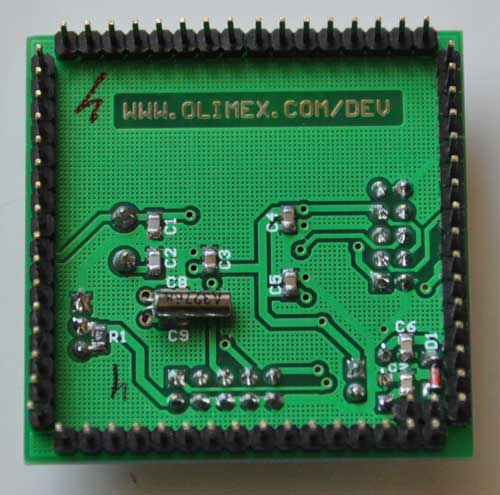
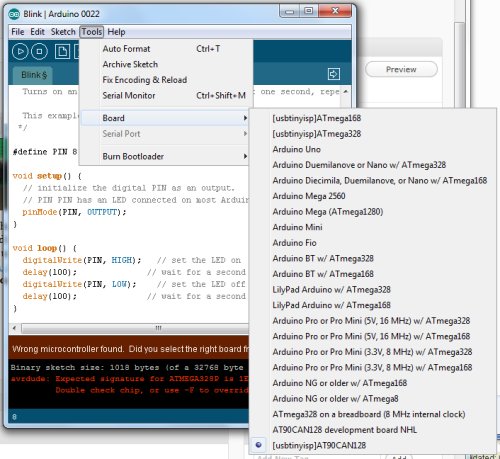
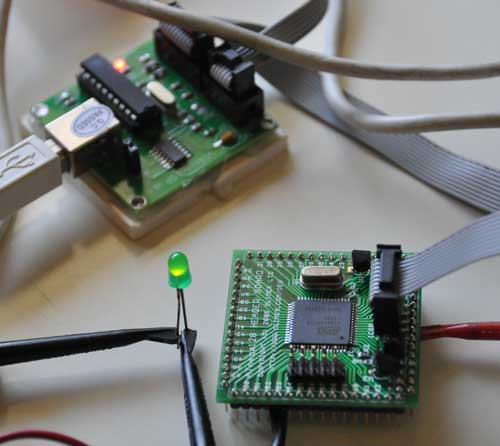
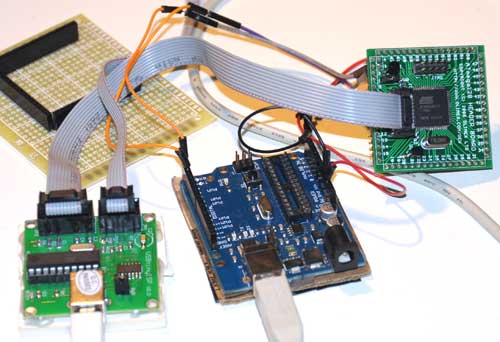
One of the basic functions that the CAN Bus project needs is to be able to communicate with a PC via a serial port. For modern PC’s the most straightforward way is to connect the AT90CAN128 header board to the host via a Serial->USB converter. The most common type is the ubiquitous FTDI Cable, which is a USB cable with an embedded FT232R chip inside. Since I have a couple of spare Arduinos, I like to just use the embedded FT232R in the Arduino, rather than investing in a FTDI cable. To use an Arduino as a serial cable, simply remove the ATmega328P MCU, and then connect the the TxD, RxD, and GND pins between the Arduino and the external device.
The AT90CAN128 has two USART’s. The first one, on pins RXD0(2) and TXD0(3), is accessed via the Serial object in Arduino. The second one, on pins RXD1(27) and TXD1(28), is accessed via the Serial1 object in Arduino.
To test serial communications with the host PC, I connected the first USART to the Arduino board with MCU removed as follows:
AT90CAN128 RXD0 pin 2 -> Arduino Digital 0 (RX)
AT90CAN128 TXD0 pin 3 -> Arduino Digital 1 (TX)
AT90CAN128 GND pin 53 -> Arduino GND
Then I wrote a quick sketch to simply read characters from USART0 and echo them back to the PC:
void setup()
{
Serial.begin(38400);
}
void loop()
{
while (Serial.available()) {
int c = Serial.read();
Serial.write(c);
}
To instead test the 2nd USART, substitute RXD1 for RXD0, TXD1 for TXD0, and Serial1 for Serial.
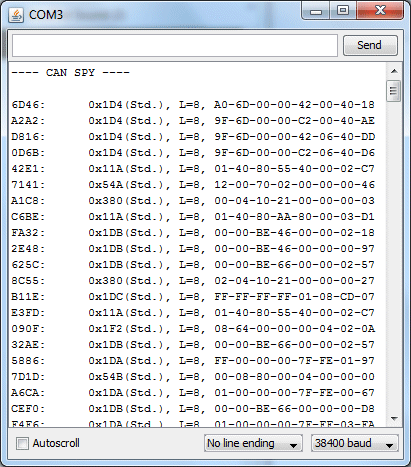
After burning the sketch, I simply opened the Arduino Serial Monitor, and typed characters to test the connection. Much to my chagrin, the AT90CAN128 was echoing garbage back to the host. I spent hours trying various things, checking and rechecking my wiring, to no avail. I started to suspect that maybe the at90can files I got from SuperCow were inproperly configured. One thing that raised this suspicion is that I found that the delay() function was running much slower than it should. User evnow of the MyNissanLeaf forum pointed me to a HEX file of a similar serial echo program that Olimex posted on their site for the AVR-CAN board. I burned the file into the AT90CAN128 using avrdude:
avrdude -c usbtiny -p at90can128 -U flash:w:avr-can_UART.hex
Once again, the board was corrupting the serial data. This test showed that the culprit probably wasn’t SuperCow’s at90can files, since this hex file has been tested and working by other users.
Finally, it dawned on me that perhaps the fuses weren’t properly programmed. I got a crash course on fuses from Adafruit’s avrdude tutorial. Adfruit’s tutorial also linked to a great AVR fuse calculator. First, I read out the fuses to 3 files:
avrdude -c usbtiny -p at90can128 -U lfuse:r:lfuse:h
avrdude -c usbtiny -p at90can128 -U hfuse:r:hfuse:h
avrdude -c usbtiny -p at90can128 -U efuse:r:efuse:h
The 3 commands above read the low, high, and extended fuses respectively, and output them as text files lfuse, hfuse, and efuse. I found that the values were lfuse=0x4f, hfuse=0x19, efuse=0xff. Using the Embedded Atmel AVR Fuse Calculator, I noticed that when lfuse=0x4f, that CKDIV8 (Clock divide by 8) is enabled. This didn’t seem right, and might account for the fact that the delay() function seemed to be running about 8x too slow. Not knowing much about fuses, I decided to just use the value that Arduino uses for the ATmega328P, lfuse=0xFF, which turns off CKDIV8.
avrdude -c usbtiny -p at90can128 -U lfuse:w:0xFF:m
Bingo! No more corrupted serial data, and the delay() function now runs at normal speed. I have a feeling I’ll have to play with the other fuse bits at a later date, but since the board is working OK I’ll leave them be for now. If you want to copy all of my current fuse settings, use this command:
avrdude -c usbtiny -p at90can128 -U lfuse:w:0xFF:m -Uhfuse:w:0x1F:m -U efuse:w:0xFF:m
Previous: AVR CAN Bus Project – Step 1: Programming AT90CAN128 with Arduino
Next: AVR CAN Bus Project – Status Update 1
