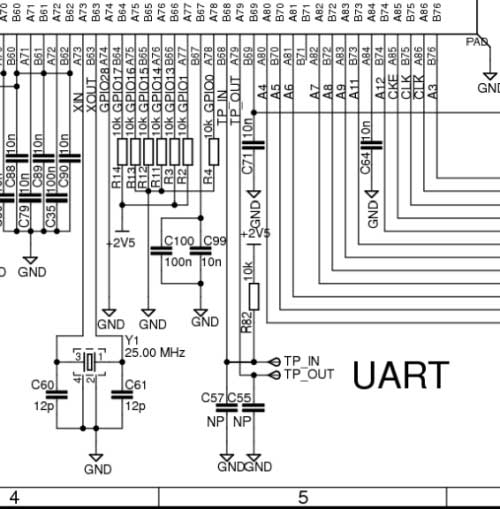
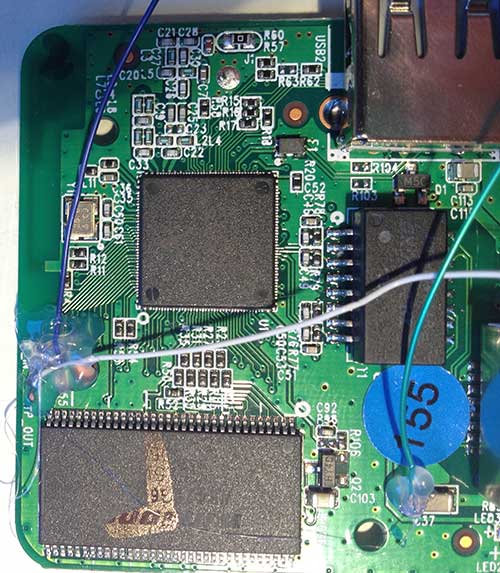
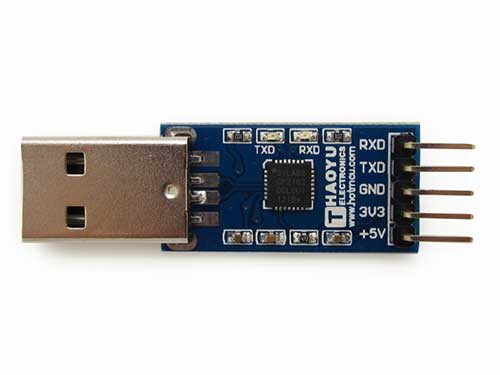
This morning, I realized that I actually had a 3.3V UART in my house that I could use to connect to my bricked TL-WR703N‘s serial port .. the Raspberry Pi runs on 3.3v! I dug up the instructions on how to hook it up on the OpenWrt forum. After hooking it up, configuring it, and firing up PuTTY, I found via the serial terminal output that OpenWrt was booting up just fine, but that the ethernet port was disabled. The problem is that mine has the newer bootloader which disables the LAN port:
U-Boot 1.1.4 (Mar 21 2013 – 10:09:10)
In my haste to flash it with OpenWrt, I missed the Gotchas in the OpenWrt wiki. It turns out that my version of the TL-WR703N boots up with the ethernet port disabled, and the version of OpenWrt that I installed did not enable it. Fortunately, nebbia88 posted a special firmware which enables both the LAN port and WiFi by default, which I downloaded from dropbox (20170927: link is dead. download it here). The next step was to figure out how to get it loaded into my TL-WR703N. Unfortunately, the Raspberry Pi serial port was too flaky. It was printing out gibberish.
Method #1: Failsafe Mode
This is the easiest way to unbrick a TL-WR703N, because it doesn’t require any soldering, or even opening up the case. YOU DON’T NEED TO ACCESS THE TL-WR703N’s SERIAL PORT. However, it will only work if your TL-WR703N will actually go into failsafe mode.
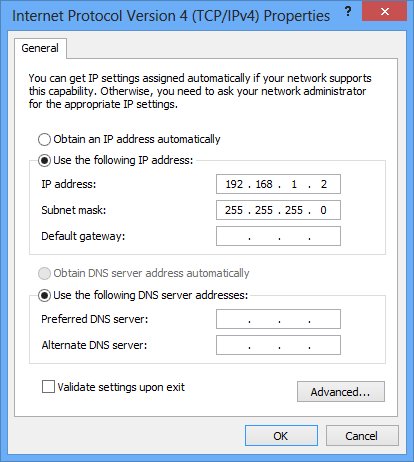
To get it into failsafe mode, power up the unit. The blue LED will flash once, and then go off for a few seconds. As soon as the LED turns on again, press the reset button. The LED should begin flashing very quickly, indicating that you are in failsafe mode. OpenWrt will always enable the ethernet port, and set its IP number to 192.168.1.1 when in failsafe mode. Next, set your host computer’s ethernet IP number to 192.168.1.2, and connect a CAT-5 cable between the TL-WR703N and the computer. Instructions for this how to do this in Windows are below.
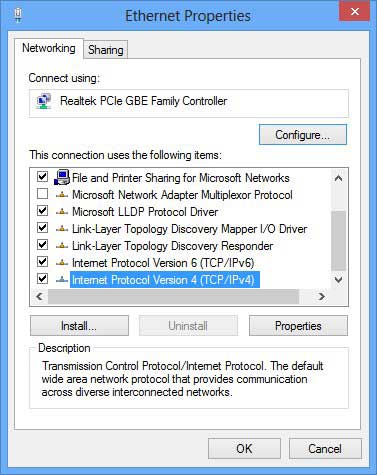
Step 1: open the Ethernet adapter’s property sheet:

Step 2: double click on Internet Protocol Version 4:
Step 3: Set your IP address to 192.168.1.2 and click OK:
Step 4: Telnet to your TL-WR703N, in Windows, you can use PuTTY:
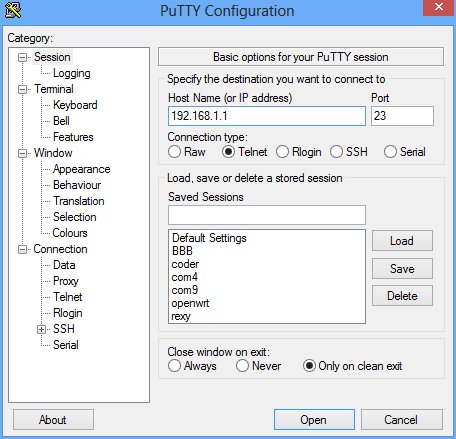
Step 5: After PuTTY connects, and you hit the enter key, you should be presented with the OpenWrt console:

If you cannot telnet into the TL-WR703N and get a console as shown above, then you will have to proceed to Method #2.
Before we can flash our new firmware file, openwrt-ar71xx-generic-tl-wr703n-v1-squashfs-sysupgrade.bin, we need to transfer it to the TL-WR703N. One way to do it is to use nc, which is documented here, but I found it easier to use wget, which is also available in failsafe mode. First, we need to set up an http server on the host computer to send the file to OpenWrt. onehttpd is a handy minimalist web server which can handle the task. In Windows, simply drag and drop the folder containing your firmware file on top of onehttp-0.8.exe to launch the web server.
Step 6: Get the file into the TL-WR703N from the OpenWrt failsafe console, and the flash it in:
root@(none):/# cd /tmp
root@(none):/tmp# wget http://192.168.1.2:8080/openwrt-ar71xx-generic-tl-wr703n-v1-squashfs-sysupgrade.bin
root@(none):/tmp# sysupgrade openwrt-ar71xx-generic-tl-wr703n-v1-squashfs-sysupgrade.bin
root@(none):/tmp# reboot
After the unit reboots, you should be able to ping it at 192.168.1.1 via the ethernet port.
Method #2: Bootloader Mode:
If you are not able to successfully enter OpenWrt failsafe mode, the bootloader is the only way to load the firmware. After hacking your TL-WR703N serial port, Connect your 3.3V UART->USB adapter to your host computer and connect to its virtual serial port using communication parameters: 115200,N,8,1. Open up your terminal program to connect to the virtual serial port. I used PuTTY:
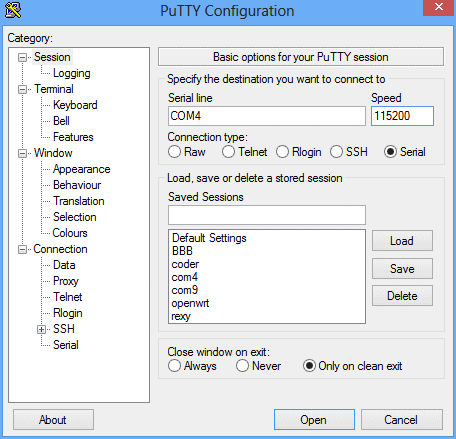
Power up the TL-WR703N, and type “tpl” (without the quotes) and then the enter key immediately after Autobooting in 1 seconds appears. If you do it correctly, you will get the hornet> prompt:
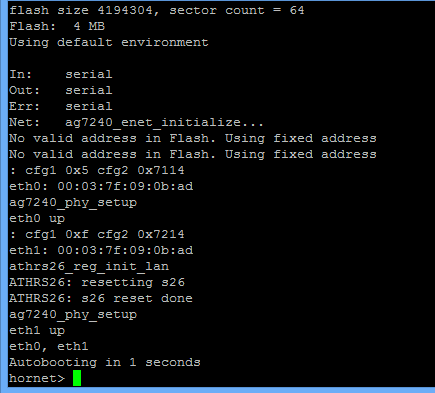
The timing is a bit tricky. If you fail, just power cycle the TL-WR703N and try again. You don’t need to reset your serial terminal between tries. The bootloader only supports tftp to receive the new firmware file. In Windows, tftp32 is a free server which works well. Download either the 32-bit or 64-bit version according to your version of Windows. Launch tftp32.exe (or tftp64.exe), set the Current Directory to the folder where your firmware file resides, and the Server interfaces to your ethernet adapter:
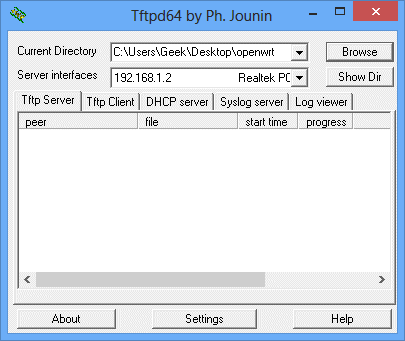
From the hornet prompt in the serial console, issue the following commands:
hornet> setenv serverip 192.168.1.2
hornet> tftpboot 0x81000000 openwrt-ar71xx-generic-tl-wr703n-v1-squashfs-sysupgrade.bin
hornet> erase 0x9f020000 +0x3c0000
hornet> cp.b 0x81000000 0x9f020000 0x3c0000
hornet> bootm 9f020000
After it’s done running the commands, wait a few seconds, and power cycle the unit. After it reboots, you should be able to access the unit via its ethernet port.
Previous: Hacking the TP-Link TL-WR703N – Part 1: Brick it and then hack its serial port
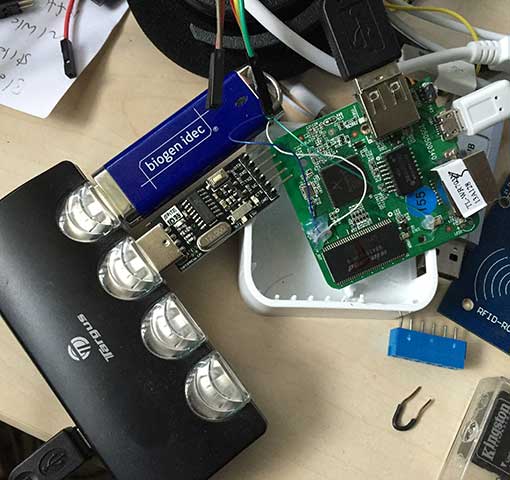 The TL-WR703N can easily supply the required current, so an unpowered hub may be used. To add support for USB to serial hardware, use opkg to install the appropriate modules. Basic USB to serial support:
