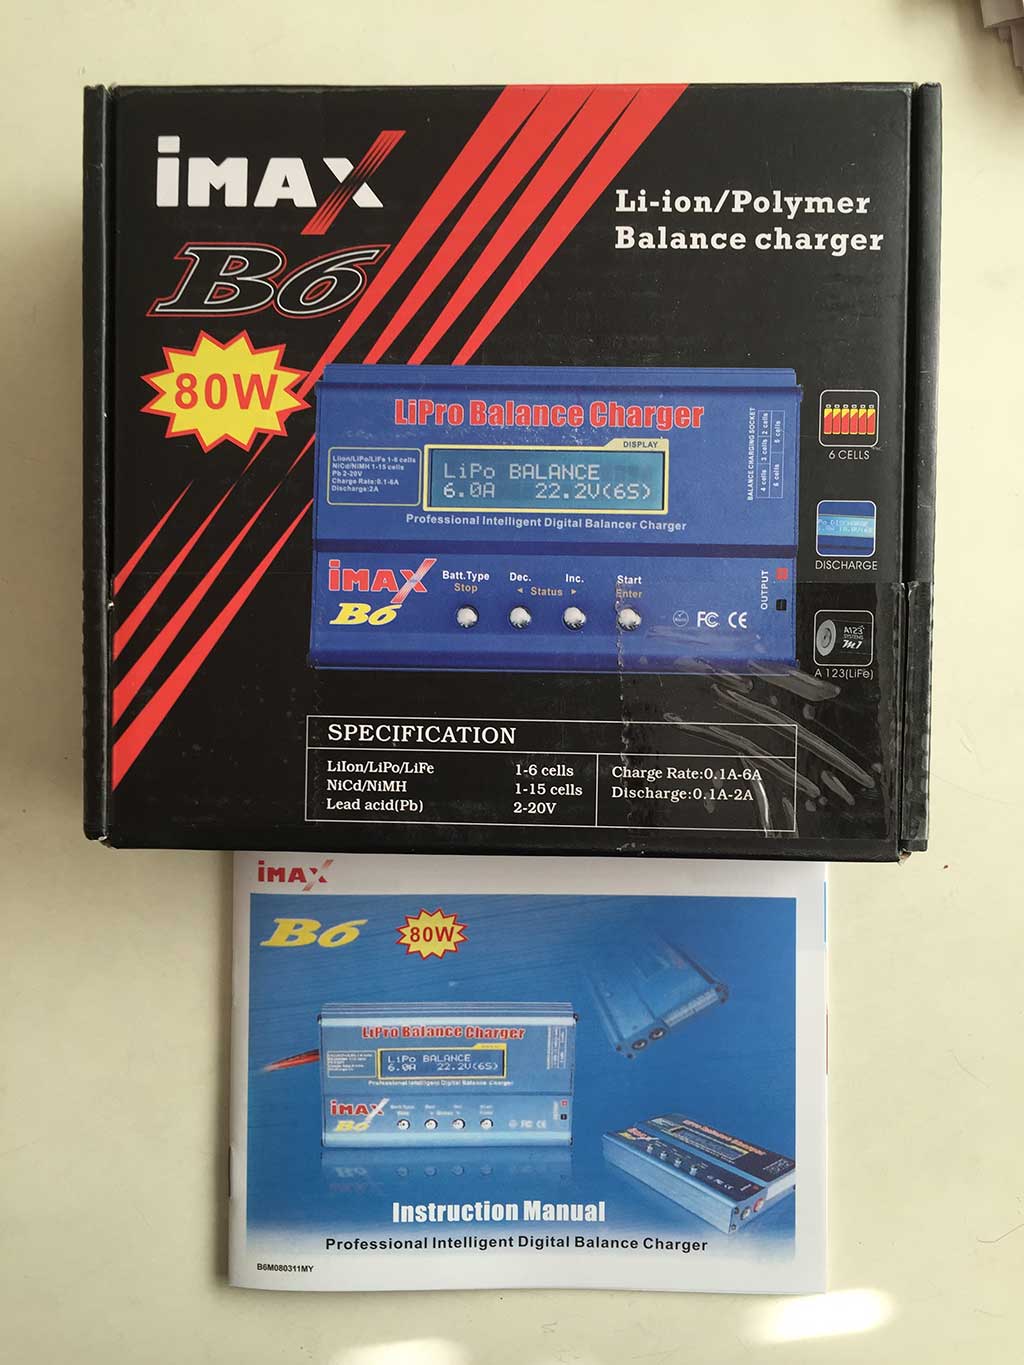
After reading about the SkyRC iMax B6 Charger on rcgroups, I decided to buy one. I chose a US-based seller, globalexcellent_ltd on eBay, and paid $17.99. The listing claimed that had a max charge power of 50W, and due to the low price, I figured I was getting a clone. I didn’t mind if it was a clone, because my plan was to install cheali-charger on it if it didn’t behave properly. I was surprised when a couple of days later, I received an 80W model:
I was also surprised (but skeptical) that there was a label on the back of the box claiming that it was a genuine SkyRC product:
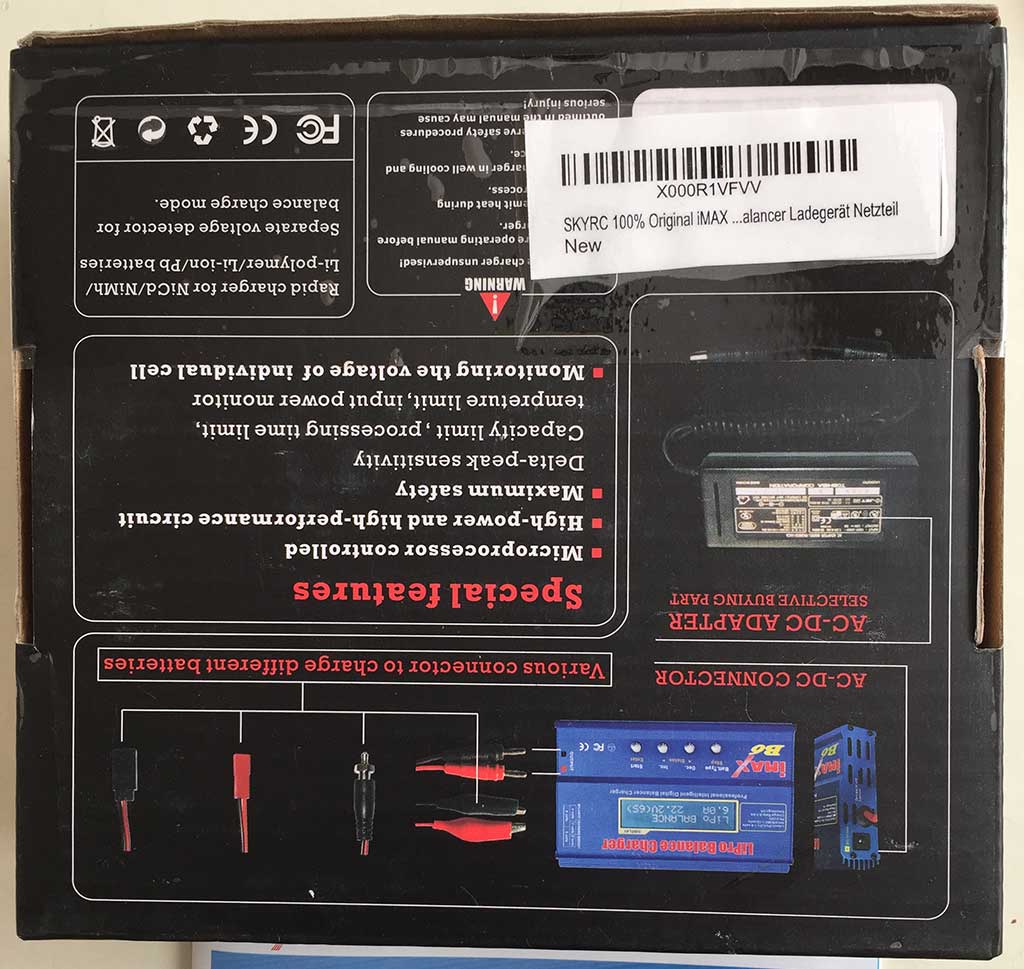
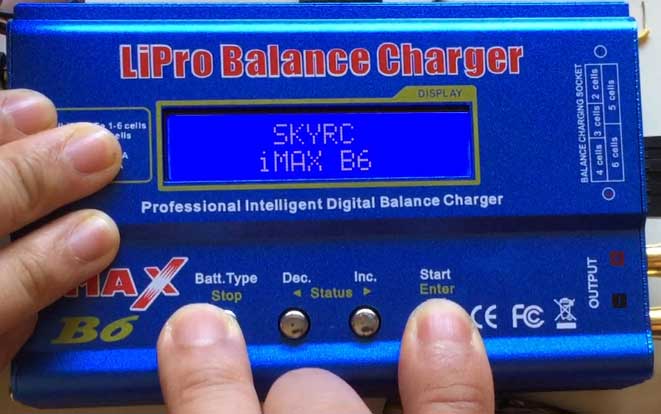
However, the box lacks the hologram which can be used to confirm a genuine product on SkyRC’s website, so I’m pretty sure it’s a fake. This is the start up message:
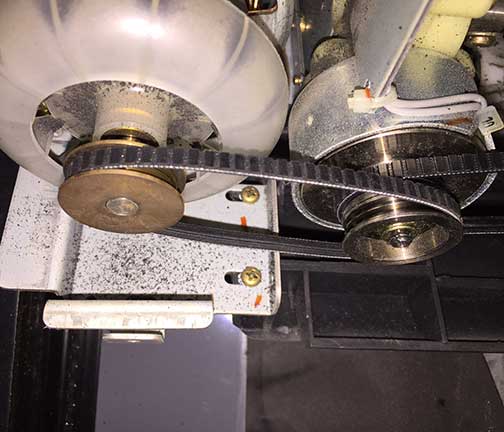
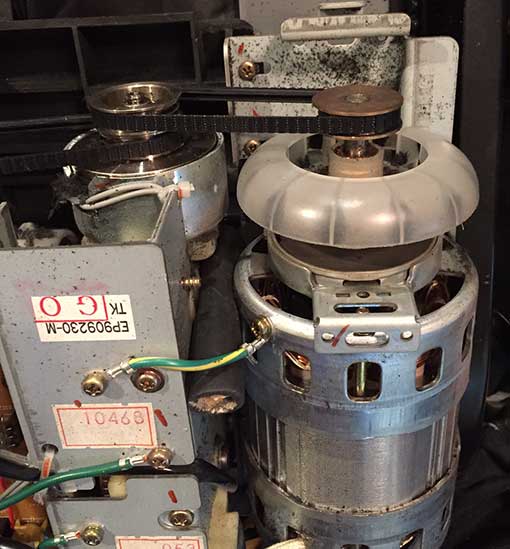
I did some initial testing, and found that it was almost half a volt off in its readings. My first thought was to try calibrating it via the Calibration Menu, which is supposed to be accessible by powering it up while simultaneously holding down the Dec and Start buttons. Much to my chagrin, I could not activate the calibration menu. Also, the Balancing Calibration Menu, which is supposed to be accessible by powering it up while holding down Stop and Inc didn’t work. After doing some searching, I found a discussion on the cheali-charger google discussion group about a Clone iMax B6 SKYRC (80W). It turns out the model in question has a mystery MCU which is not labeled, and is not compatible with cheali-charger. I took mine apart to see what PCB was inside:
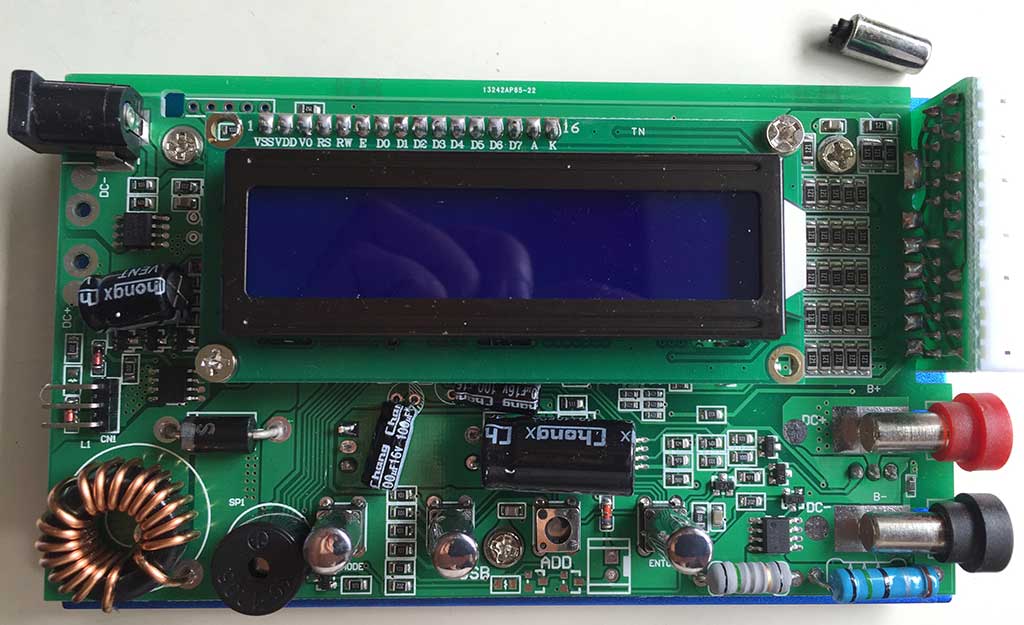
I forgot that the buttons were protruding from the case, so after I took off the end caps, I tried to slide out the PCB. Big mistake! I broke all 4 buttons! The proper way to remove the PCB is to carefully bend the case until the PCB can be pulled out the bottom of the case, rather than sliding it. Another diversion … I had to fix the broken buttons with super glue. After carefully examining the PCB, I figured out that I am unlucky, and mine is definitely the model with the unknown CPU that’s not compatible with cheali-charger. So, I had to find another way to make it functional.
CALIBRATION
It has come to my attention that there are versions with different firmware from mine. Apparently, some of them use a different calibration procedure. See Update 2017-02-01 below for the alternate calibration procedure. Currently, I don’t know how to tell which version you have.
From the google discussion thread, I found out that this particular version of the B6 has only one calibration menu, and it’s accessed by holding down the Stop and Start buttons while powering it up. It looks like the balance calibration menu on a normal B6 charger, showing 6 voltages. WARNING: DO NOT PRESS START AND STOP WHILE POWERING UP UNLESS YOU HAVE A CALIBRATION CIRCUIT HOOKED UP. OTHERWISE, IT WILL COMPLETELY MESS UP YOUR B6’s VOLTAGE CALIBRATION. Many people use a precision 25.2V power supply and 100 ohm .1% resistors to do the calibration (see Joe Rouvier’s post for this method), but having neither of those available, I decided to instead build up a 6S pack of fully charged LiPos. Here is the battery hookup:
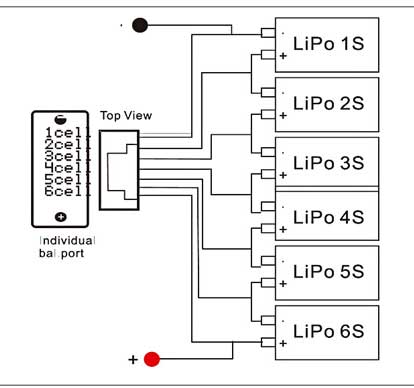
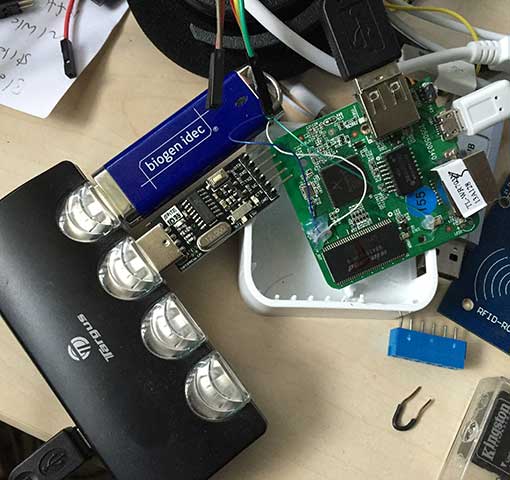
I charged each individual cell on another charger to exactly 4.19V. Also, according to Joe Rouvier’s post in the cheali-charger discussion, the temperature input also needs ~1V during calibration. The temperature port is located on the left side of the unit, and consists of a 3-pin header:
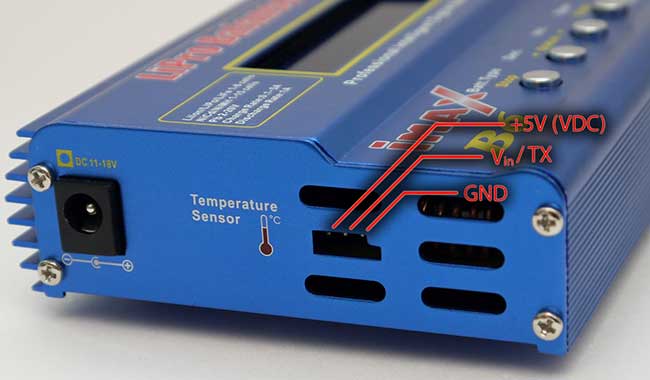
[above image copyright the owner of: http://sysmagazine.com/posts/150213/. Note, the TX function does not apply to fake 80W iMax B6’s. AFAIK, it is only for temperature input on this clone]
I hooked up a 5K potentiometer, outer terminals across the +5V and GND on the temperature port, center terminal (wiper) to Vin, and adjusted it to 1.00V between Vin and GND. I think if you don’t plan to hook up a temperature sensor, you can skip this step. The voltage calibration seemed to work OK without hooking anything up to the temperature port.
Once you have everything hooked up, power up the charger while holding down the Stop and Start buttons:
(Note, in the video, the temperature calibration circuit is not hooked up… I redid the calibration after I shot the video). After the voltages stabilize, calibration is complete, and the power may be disconnected. Interestingly, after the display stabilized, the iMAX B6 displayed all of the voltages exactly at 4.19V… spot on. This is different from I was expecting, because Joe Rouvier had mentioned that the charger just assumes every cell is 4.2V during calibration.
After calibration was complete, I tried test charging the battery that I used for calibration. I tried both Charge and Balance modes. In both modes, the main screen displayed the voltage as 25.1V, and after less than 1 minute, displayed FULL. But strangely, the cell voltage screen (press Inc during a charging session) was showing mismatched voltages (e.g. 4.20/3.94/4.18/3.98/4.19/4.12). In Balance mode, the voltages would start at the mismatched values, but then finally stabilize to be equal. However, after the charge session ended, if I started Balance mode again, the voltages would again be mismatched when the session started.
Next, I tried charging a single 3.7V/2000mAh LiPo cell. During charging, the 4.20V was always displayed, regardless of the actual voltage across the charge terminals. During the constant current phase, the voltage fluctuated, and often went above 5V. After ramping down the current charger stopped and displayed FULL and 4.20V. However, when I measured the cell with my DVM, it was 4.00V. I guess it’s good that it doesn’t overcharge and destroy your cells, but .2V low is a pretty big discrepancy. I tried restarting the session and playing with various charge currents from 2A-.2A, but it just kept stopping with the cell voltage exactly 4.00V.
Next, I hooked up my hand built 6S balancing pack again. Before charging, I verified that the cell voltages were still at 4.19V and triple checked the wiring. A normal Charge session ended with the both the battery and display at 25.1V, but the cell voltage screen was again displaying mismatched voltages. Next, I tried a Balance charge session again. This time, the charger started to smoke around the balance inputs! I quickly unplugged everything, but it was too late. The charger is now toast, as well as one of my one my LiPo cells, which now reads 0.00V.
Sheesh, what a short-lived charger. I don’t know if I just got a defective unit, or if this thing is junk, but I’m wondering whether I should try another iMax B6 or buy a different charger.
UPDATE 2015-07-28: Amazingly, the charger still works when not in Balance mode. At least, I’ve been charging single LiPo cells. It still charges them up to exactly 4.00V (though the display still always shows 4.20V during and after charging). This is what the board currently looks like:
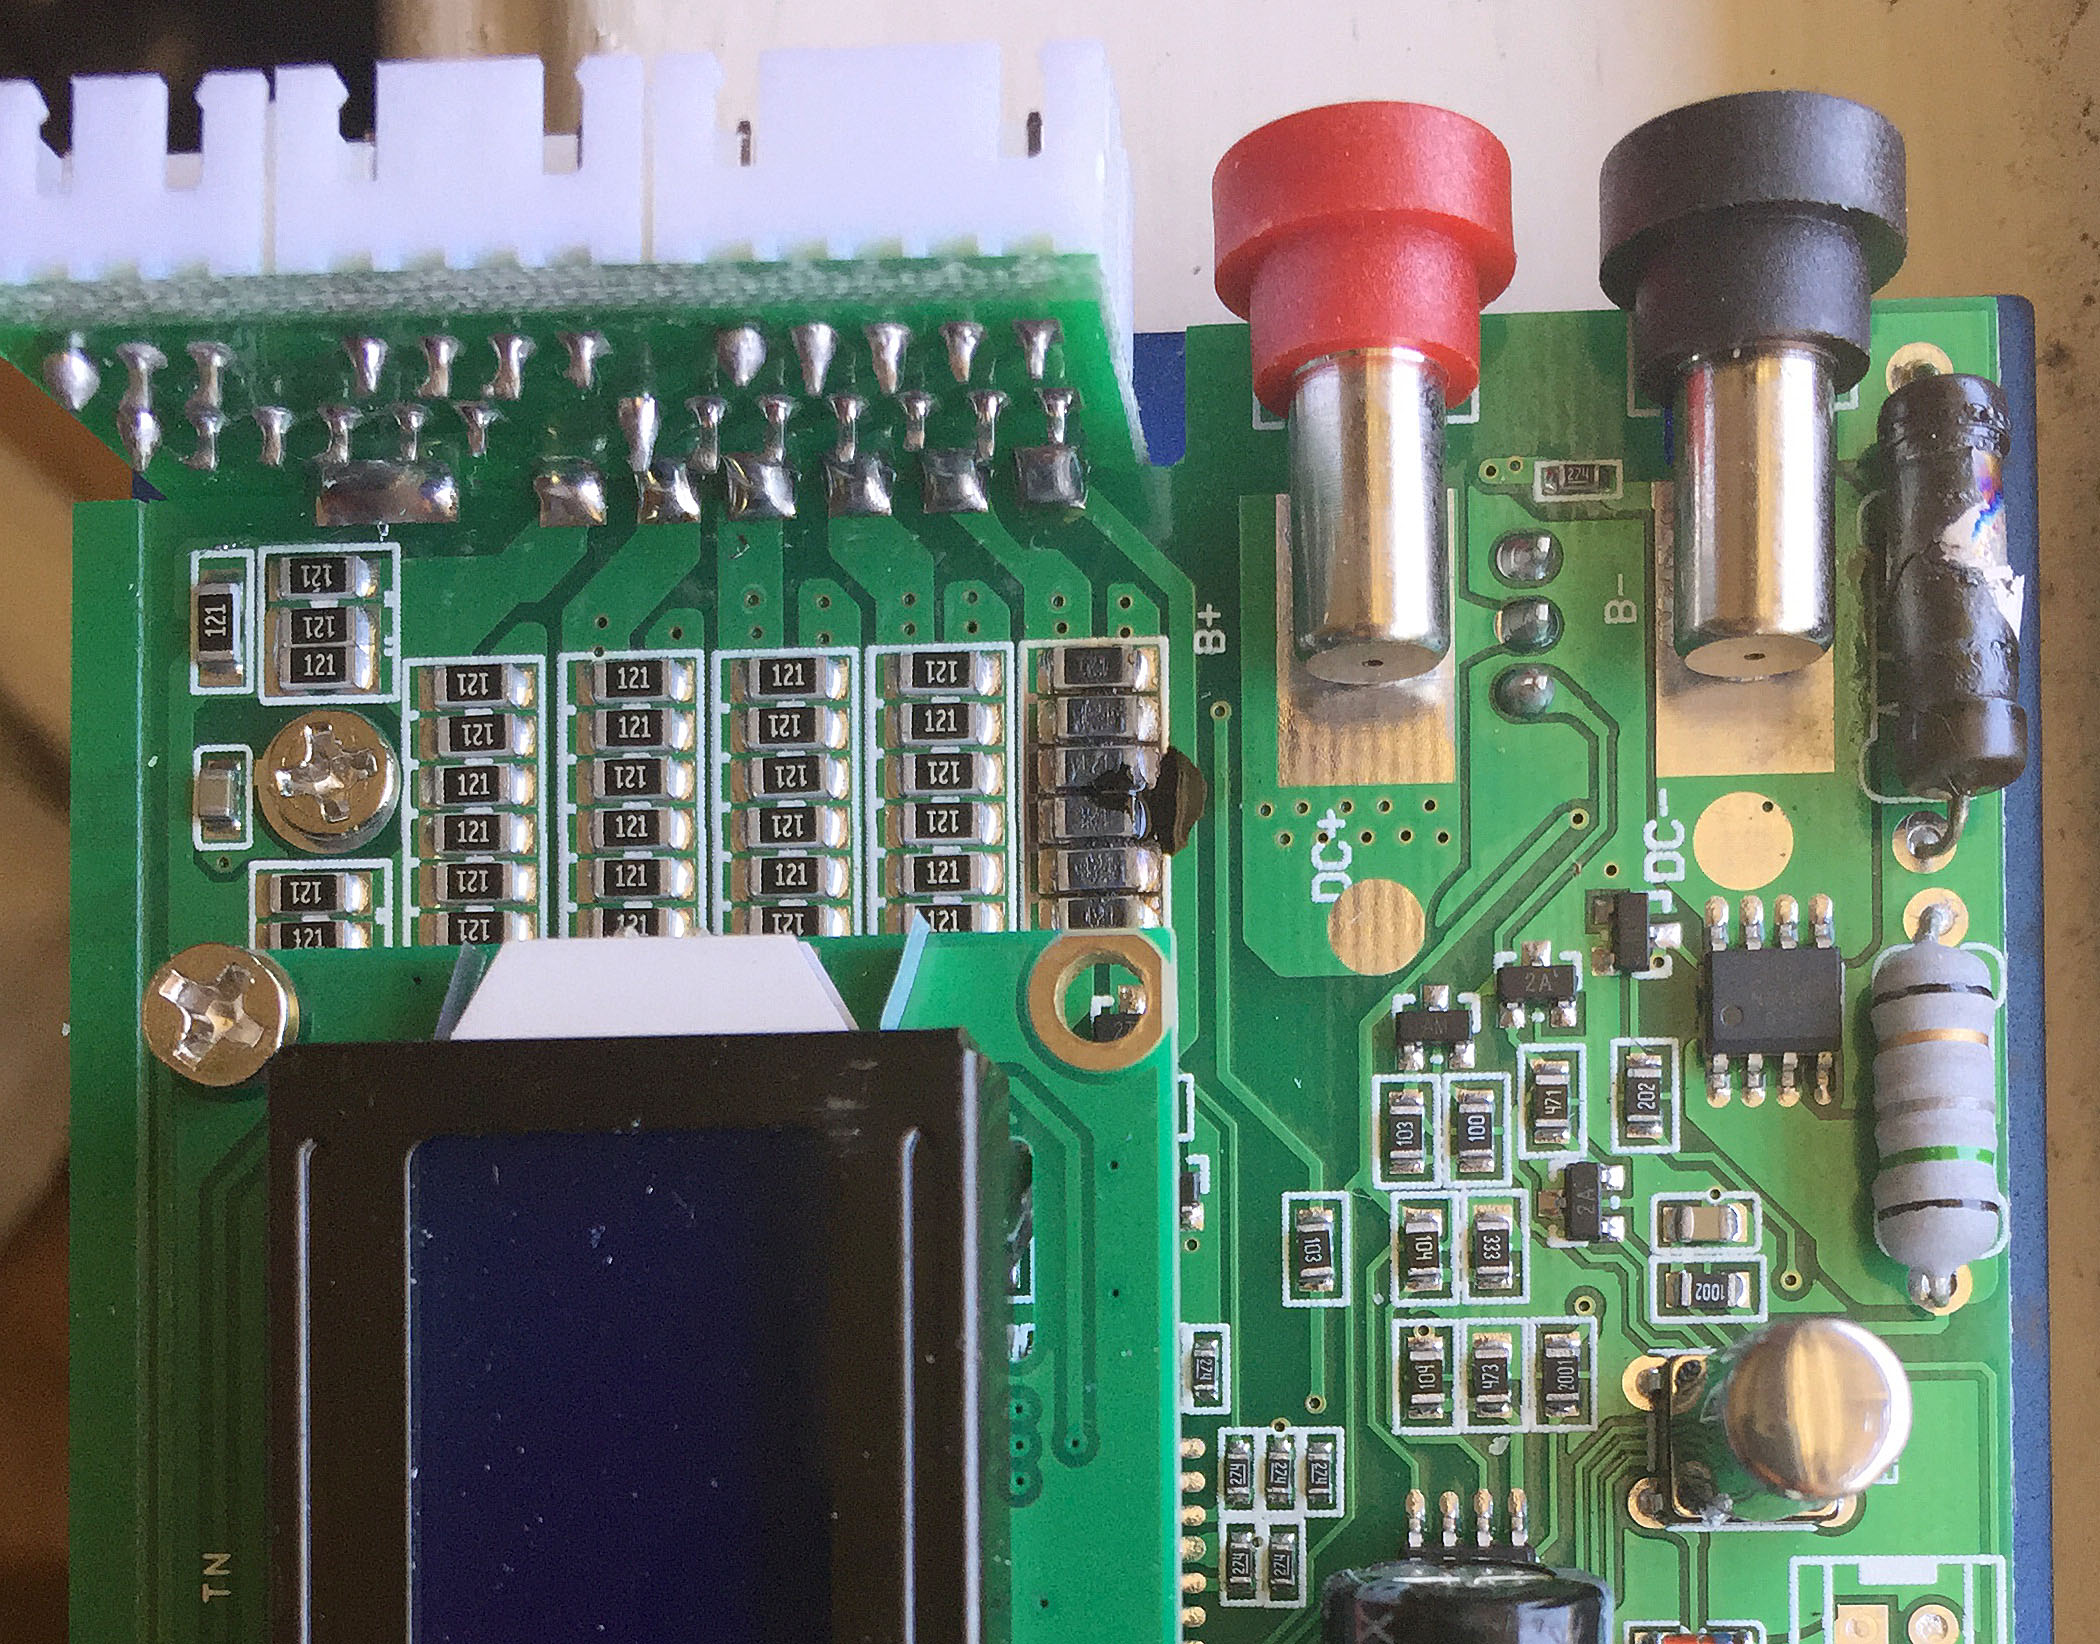
The rightmost row of balancer resistors is fried, as the power resistor at the top right. I’m not sure if I’m going to bother trying to fix it, since I can’t change the firmware to fix the 4.00V charge voltage bug.
Update 2015-08-04: OK, I’m a moron. I bought a genuine SkyRC 50W iMax B6 on Amazon, and it too seemed to be charging to exactly 4.00V as measured from the battery terminals. Then I found that during charging, the voltage at the charging terminals was 4.25V, while the voltage at the battery terminals was 4.00V. So, I tested the resistance of my charging jumpers, and found about 3 ohms resistance! The 4.00V terminal charging voltage was caused by excessive resistance in my charging jumpers! After swapping to some new jumpers, the genuine SkyRC iMax B6 charges 1S LiPo cells to 4.19V. Pretty good calibration from the factory. Next, I tried the fake 80W iMax B6 that I calibrated, and it too, charges to 4.19V. But there’s a big difference during charging. While adjusting current, the genuine iMax B6 never exceeds 4.25V while it’s adjusting the charging current. On the other hand, the fake 80W iMax B6 often overshoots in excess of 5V while adjusting down the charging current. I’m not sure if these temporary voltage spikes will damage your batteries or not, but to be on the safe side, I would avoid the 80W clone, until someone figures out how to get an open source firmware into it.
For those who want to keep up to date on developments with this charger, there is an ongoing discussion thread in the cheali-charger forum: Clone iMax B6 SKYRC (80W) . Perhaps someone will figure out how to program it.
Update 2017-02-01: It seems that there are different versions of firmware on some of the newer models. Here is some info posted by MoPaZoDoZ92 on my YouTube video that may be helpful:
i had no calibration options on my fake Imax B6 2016 from ebay so i tried this video tutorial properly with 6s fully charged lipo batteries . The Imax displayed some random solid voltage (4.4v +- 0.2v) on each battery. Nothing else happened so i restarted the Imax. After that the imax automatically went to discharge lipo 1.0A S1 and of course gave me an “BATTERY CHECK HIGH VOLTAGE” error because all the 6S batteries was still connected with the balance cable and banana connectors. No buttons worked, though the Imax was broken. But i FOUND A SOLUTION on this particular Imax fake model.
Step 1: Follow Linco matics video tutorial properly with 6S fully charged batteries connected. Keep in mind that no buttons works under this process.
Step 2: Shutdown the Imax and connect only one S1 fully charged lipo battery with banana connectors.
Step3: Restart the Imax and it will automatically go to discharge lipo 1.0A S1 mode. It will discharge the battery for 10 SECONDS. After that the Imax will automatically cancel the discharge S1 mode and go to balance charge lipo 1.0A 6S mode. Here’s the tricky part, you have like 1 SECOND( until it display “BATTERY CHECK WAIT…”) to disconnect the S1 lipo Battery from the Imax and connect the fully charged S6 batteries you used for Lico Matics video tutorial with the balance cable and the banana connectors. If you fail this difficult task, the Imax will display an error and you need to shutdown the Imax and you’r back to step2.
You have to figure it out how to rapidly change the batteries. If you succeed the Imax will try to balance charge the S6 batteries in few seconds until the batteries are fully charged. After this process the calibration is completed and the buttons are enabled.
I have not yet found any solution on internet for this particular Imax fake model with no calibration option. So if you have the same symptoms i had with my fake Imax after following Lico Matics video tutorial you should try this out.
Sry for my bad english:)