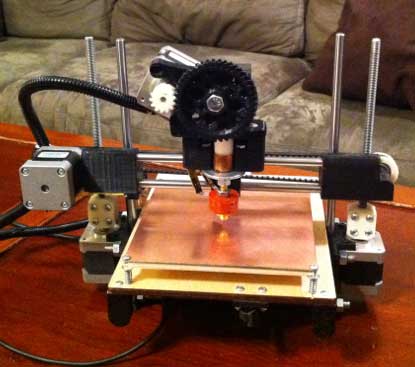
I have been somewhat intrigued by the RepRap project, an open source 3D printer movement, for several years. However, wasn’t motivated enough to jump into the fray until late last year, when I saw Brook Drumm’s Printrbot on Kickstarter.
With only about 1 hour left before funding closed, I pledged $500 to get a Printrbot kit. While I could have started from scratch, and built a Prusa Mendel, after reading about how much tweaking is involved in building and setting up a RepRap, I decided to start with a Printrbot – a cute, compact, and simple design, and the most inexpensive RepRap at the time. Printrbot’s Kickstarter was a smashing success. They raised an astonishing $830K. Unfortunately, the gigantic amount of orders they received means that mine will take a little longer to get to me than I originally anticipated. So, I’ve been immersing myself in the intricacies of the electronics, firmware, host software, and mechanical aspects of RepRap for the past couple of months.
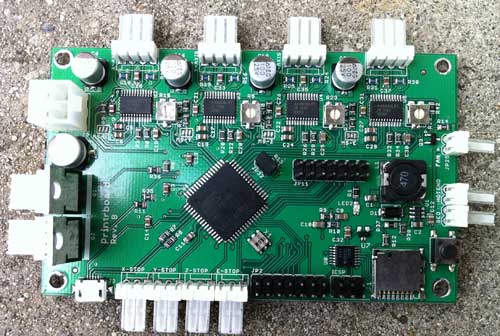
There are a variety of popular controller electronics for RepRap, the most popular being RAMPS. The electronics are one of the largest costs of building a RepRap. Although RAMPS is convenient, because it’s based on an Arduino Mega, I like the idea of having a single dedicated board. The Printrbot folks have designed their own controller board, which they call Printrboard. Although Printrbot is not yet selling Printrboards, the design is open source, and thus, I was able to obtain one before their release.
Kang, a fellow RepRapper from Seoul, Korea, built a few Printrboards and sent me one to play with.
Printrboard is a fork of Teensylu, an AT90USB1286/AT90USB1287 based RepRap controller. I like the fact that these boards are based on the AT90USB128x MCU’s because they have built-in full USB support, eliminating the need for an external serial->USB bridge IC; additionally, the native USB support means that communication with the host computer is blazingly fast – 12Mbps rather than 115200kbps.
There are a few notable differences between Printrboard and Teensylu. Printrboard is a single board solution. First, Printrboard adds an integrated SD card reader. This is handy for printing while untethered to a computer. Teensylu has I/O pins which can be used to easily add an SD card reader.
Second, the stepper motor drivers are integrated onto Printrboard’s PCB, while Teensylu uses plug-in Pololu/Stepstick carriers. The advantages of integrating the stepper drivers onto the main PCB are reduced cost and compactness. The downside is that it is not uncommon to blow up a stepper driver IC, so having them soldered in means if one goes bad, the whole board is unusable.
Third, Printrboard uses Allegro A4982’s in a 24-TSSOP package, while Pololu/Stepstick use the Allegro A4988 in a 28QFN package. The TSSOP package is considerably larger, and has a wider pin pitch, which makes reworking the board easier if one of them blows out; the 28QFN is very tiny and not for the faint of heart. The other difference between the A4982 and A4988 is that the A4982 only supports full/half/quarter/sixteenth stepping, while the A4988 also supports one eighth stepping.
Some other minor differences between Printrboard and Teensylu are that while Printrboard only supports a 12V2 ATX power input, Teensylu gives more power options. Also, Teensylu has a large USB-A socket, while Printrboard uses a micro USB-B socket.
I am diving into figuring out how to load Marlin RepRap firmware into Printrboard/Teensylu, to keep my end of the bargain with Kang. A series of articles will follow with my findings.
