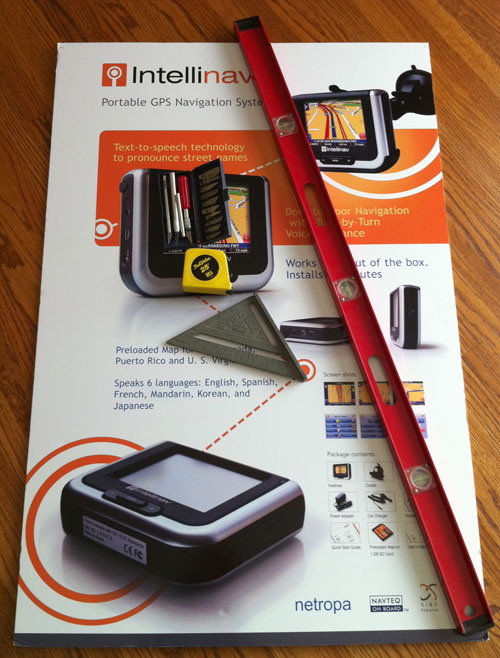
I started building my 8×8 RGB LED matrix this weekend. The first step was mechanical construction of the matrix. Below are the materials I used:
I recycled a piece of foam core poster board. This kind of poster board is composed of two sheets of thick paper, with a piece of foam sandwiched in between. You should be able to find it in an office or art supply store. The dimensions of the board were 45x30x1/4″. The tools needed were just a straight-edge, a ruler, and an x-acto knife. During the course of cutting it, I wore out two blades, so you might want to keep some spares handy.
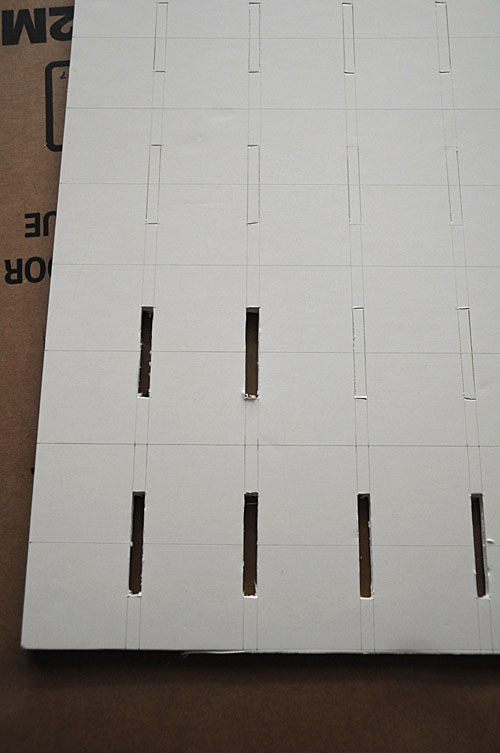
The first step was measuring and drawing out the cutting lines on the board in pencil. After my previous adventures in RGB LED Testing, I’d settled on an inside dimension of 2×2″ for each cell. Since the matrix is composed of 8×8 cells, I needed to cut 14 identical grid pieces. I tried to take a photo of the entire sheet after drawing in all the guide lines, but the lines didn’t show up clearly. Below is a close-up instead:
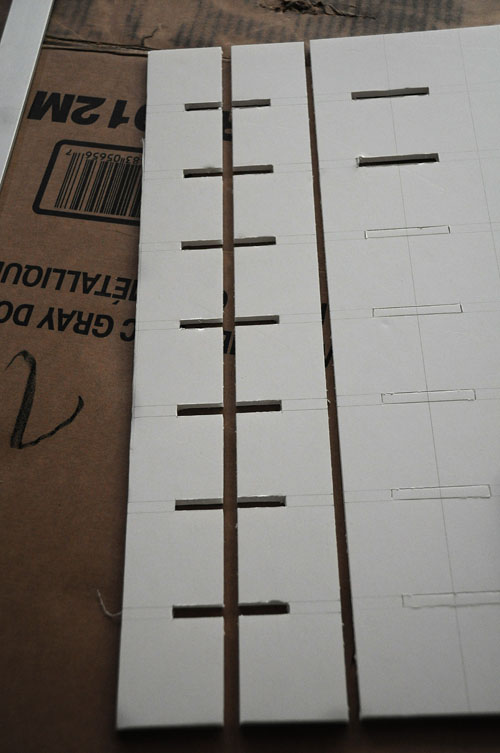
I found that it’s easiest to lay out the cuts so that the grooves on each adjacent pair of grid pieces are facing each other. This way, you can cut 2 slots at once. I first cut the slots, and then I cut out the grids:
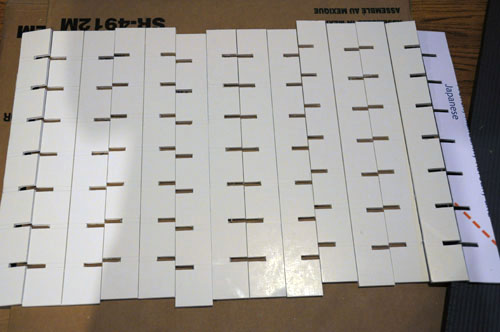
Note that you need to use extremely sharp blades when cutting foam-core poster board. Once your blade begins to dull, it won’t cut through the foam smoothly, and instead, it makes it turn into nasty little chunks as the blade drags through. If your blade starts to dull, change to a new one. Also, make sure to avoid putting excessive pressure on the board with your elbows, knees, etc … once the foam compresses, it won’t bounce back. I spent about 5 hours total cutting out the 14 pieces below:
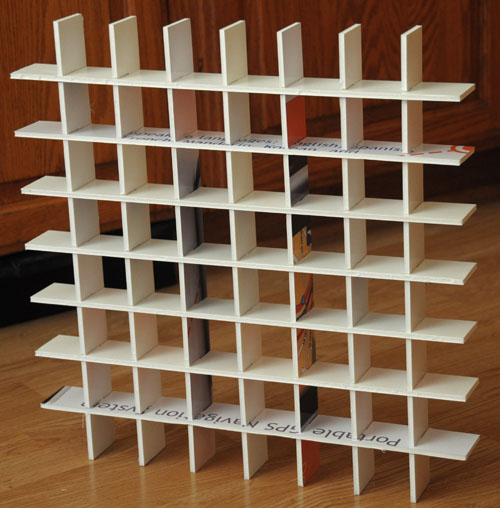
It was a tedious and boring task. Lucky I had a TV set in the room. When it was done, my arms, fingers, and back were all so sore, I had to pop 400mg of ibuprofen! Below are the fruits of my labor:
I bought a can of white gloss spray paint to paint over all of the printed bits, so unlike the photo above, the final product looks entirely white. In retrospect, I’m not sure it was worth using recycled board, because of the labor and cost of the paint. I’m not 100% sure that it was really necessary to paint it white – maybe the dark bits wouldn’t cause reduced brightness – but I didn’t want to take a risk … it would be hard to paint after wiring up the LED’s.
The next step is wiring up the 64 RGB LED’s … 4-wires each means a total of … 256 wires – 512 connections! Another long and grueling task!
Related articles:
- 8×8 RGB LED Matrix Construction: Step 2 – Wiring
- Lampduino – An 8×8 RGB Matrix Floor Lamp
- Reducing Arduino/FTDI FT232R Serial Latency
- RGB LED Testing
